
Proxy SwitchyOmega allows you to browse the internet with complete privacy and anonymity. It also masks your IP address, letting you bypass ISP restrictions, unblock censorship, and content filters while protecting your anonymity at the same time. Here’s how to setup and use Proxy SwitchyOmega!
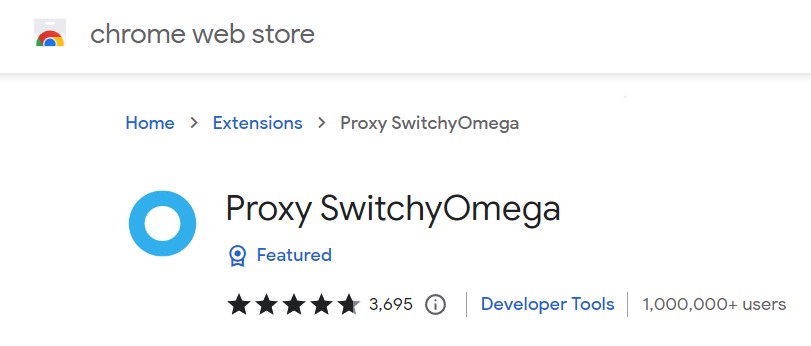
What is Proxy SwitchyOmega?
Proxy Switchy Omega is an extension for Google Chrome and Mozilla Firefox that allows you to switch between proxies on a whim. It does not require any configuration or installation, so all you need to do is install it from the Chrome Web Store or Firefox Add-ons library.
Benefits of Proxy SwitchyOmega:
Proxy SwitchyOmega is one of the most popular free proxies available. It has a user-friendly interface, and works on various browsers like Chrome and Mozilla Firefox. This proxy is quite reliable and secure as it offers HTTPS support.
If you want to stay anonymous while browsing through proxy then you can use this brilliant tool. It lets you switch between HTTP or HTTPS with just a single click. You do not have to be an expert in computer science for using this software.
Setting up Proxy Switchy Omega:
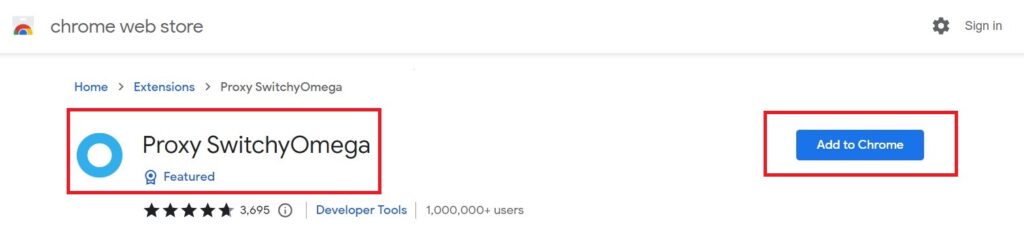
To start using Proxy Switchy Omega, you will first need to install the program. You can do this by going to your Chrome Web Store and Firefox Add-ons library.
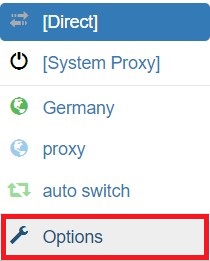
Once installed, it will be added into your chrome browser (same for Mozilla Firefow window). You just need to click on it and pin it to your browser. Next click on “Options” button as shown in the screenshot below!
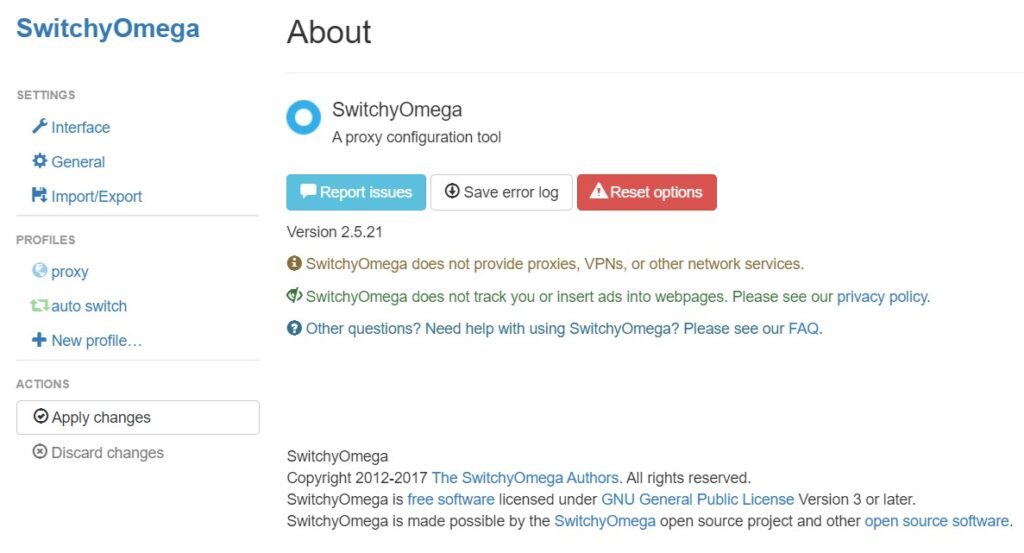
Once you click “Options”, you will see a cool interface something like this:
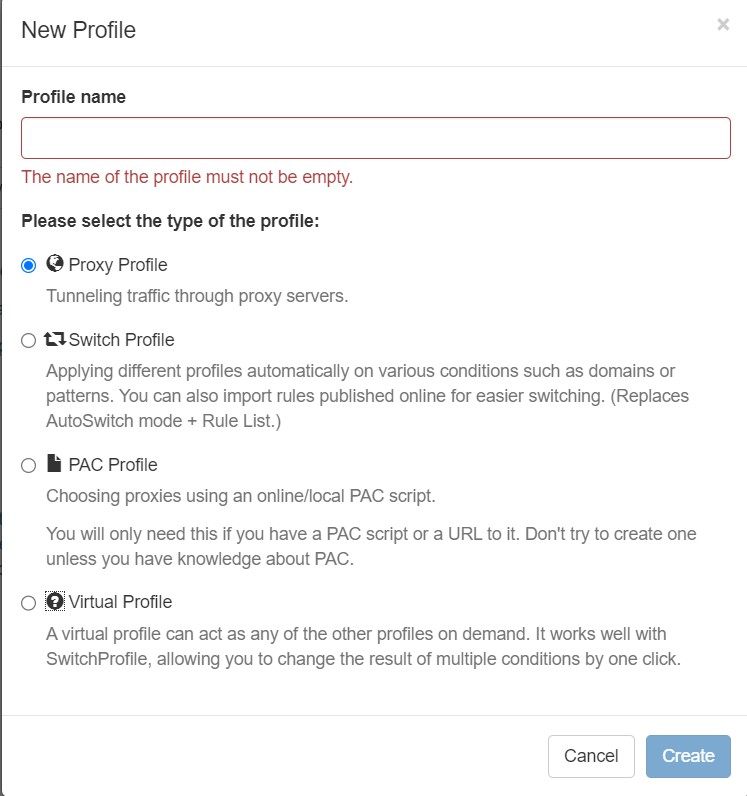
Now click on “New Profile” under profile section. Give your profile a name (refer below image). Select first option “Proxy Profile” to tunnel traffic through proxy servers. Then Click “Create”.
Now it will require proxy server details such as “Protocol”, “Server” and “Port”. Fill all the required details.
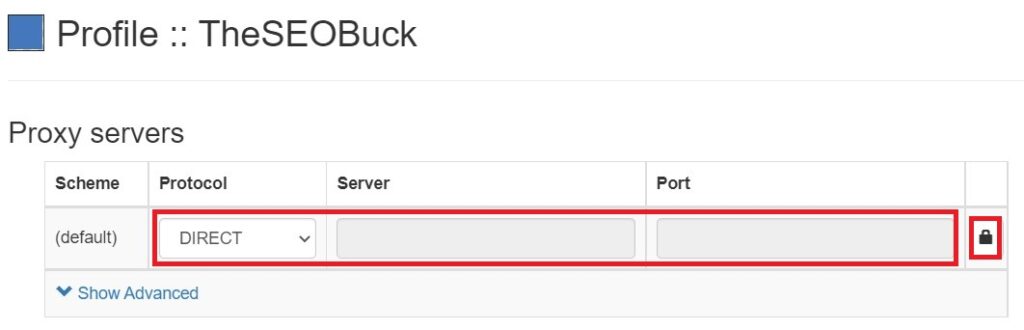
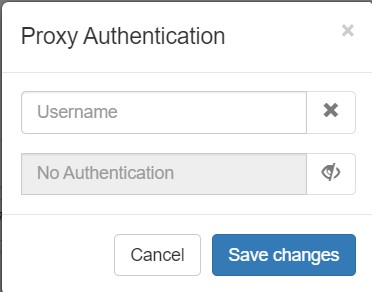
Once all details completed filling, click on “Lock Icon” as shown in the screenshot above. Then it will ask for “Proxy Authentification”. Here; you’ll need to enter proxy username and password. Click on “Save Changes”.
At this point, you should be good to go! Now whenever you want to browse the web, just click on one of the browsers tabs and make sure that they are pointed towards Proxy SwitchyOmega. Also, make sure that you have selected the proxy you have created.