Google has already announced that HTTPS will now have a major role in the ranking and those websites and blogs that use HTTPS will have better ranking in the SERPs than sites using HTTP. This means that if you use SSL (Secure Sockets Layer) security on your site, then your site will rank higher in search engines. Now, if you buy SSL Certificate, you have to pay extra bucks, which will cost 3,000 to 10,000 INR approximately.
Don’t WORRY!
In today’s tutorial we will explain how you can move your website from HTTP to HTTPS for absolutely FREE using Cloudflare SSL step-by-step.
YES! You do not need to spend a single buck for this, you can enable HTTPS in Cloudflare’s free plan as well.
I would like to thank Cloudflare for this because by using this we can add Free HTTPS Security to our websites and increase the google search ranking of the site along with making our site more secure.
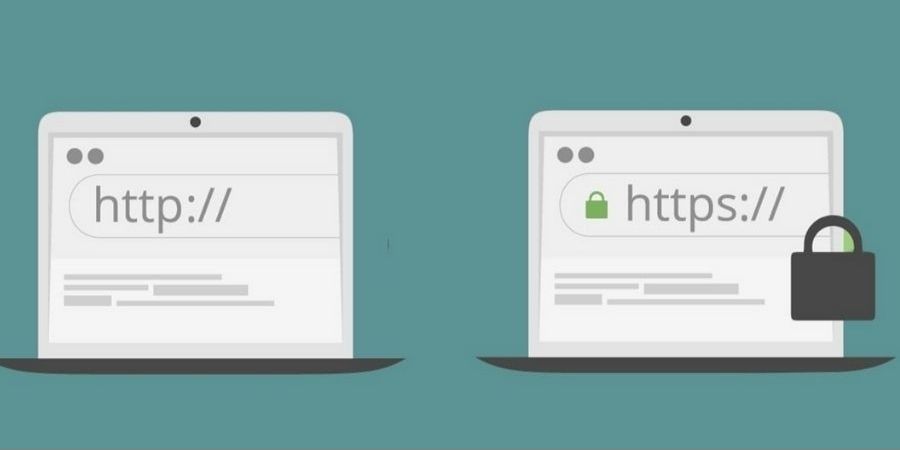
WHAT IS THE DIFFERENCE BETWEEN HTTP AND HTTPS?
HTTP stands for Hyper Text Transfer Protocol whereas HTTPS is known as Hyper Text Transfer Protocol Secure.
HTTP is not secure which means your data is not secure with HTTP. Whereas in HTTPS, your site’s data is encrypted and secure. When a browser transfers data to your site, no hacker can see and steal it.
HOW TO SETUP CLOUDFLARE FREE SSL FOR WORDPRESS:
On the Internet you will find many websites which provide both Paid SSL Certificates and Free SSL Certificates. If you want to use Free SSL Certificate then Cloudflare’s Flexible SSL is the best option for you.
To add Cloudflare Free HTTPS/SSL in a WordPress website, you have to follow these simple steps but follow all the steps correctly so that there is no problem in this process and you do not have to face any kind of trouble.
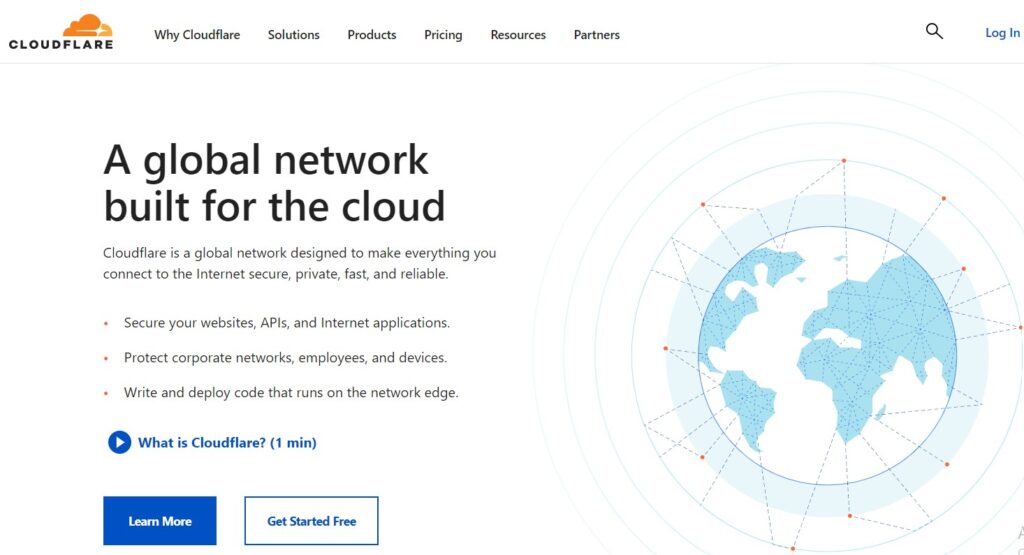
Step 1: Create an Account:
First you go to the Cloudflare website and make sign up. After sign-up completion, verify your email address and login to your Cloudflare dashboard.
Step 2: Add Your Website:
The next step you have to take is to add your WordPress site to Cloudflare as shown in the image below. You just need to put your website’ root domain and click on “Add Site”.

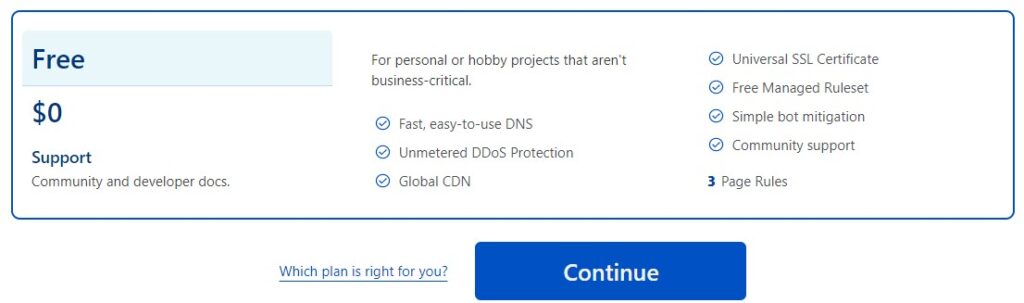
Step 3: Select the FREE Plan:
Now simply scroll down and continue with “Cloudflare SSL free plan” as shown below.
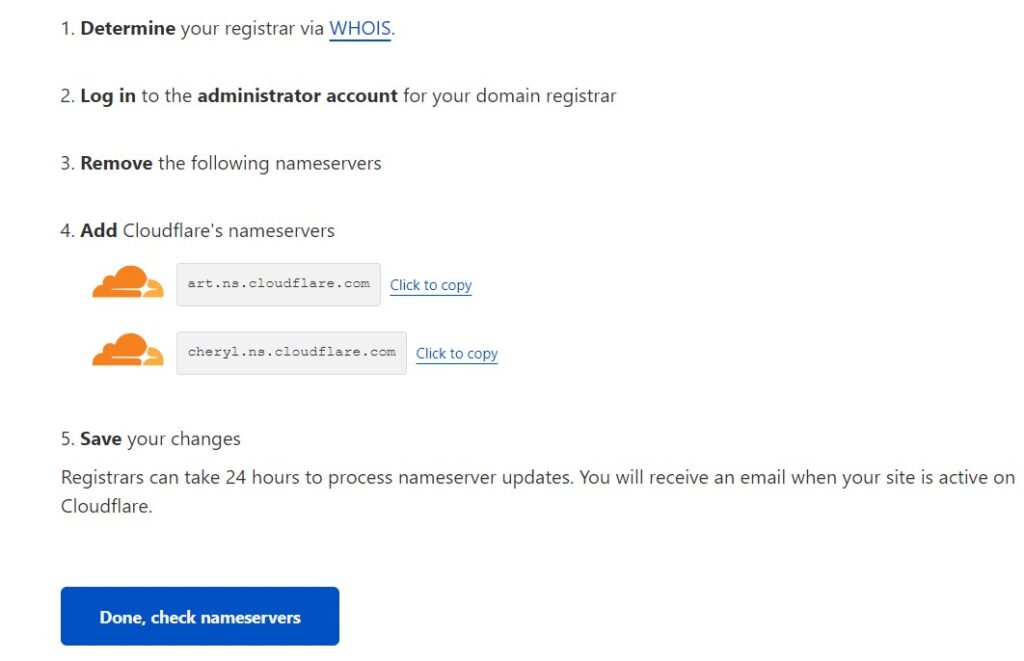
Step 4. Change the Name Servers:
This step is really crucial!
When you proceed further, Cloudflare will ask you to remove your current nameservers. Here, you have to login to your hosting panel dashboard.
Here, you have to change your default nameservers to Cloudflare’s nameservers. Simply copy Cloudflare’s nameservers, then go to your website hosting dashboard and replace default nameservers to new Cloudflare’s nameservers. And, click on “Done, Check Nameservers” as shown in the image below.
Step 5. Change Settings to Flexible:
Now, you will see a row of icons. Click on “SSL/TLS” option and choose “Flexible” option as shown in the picture below.
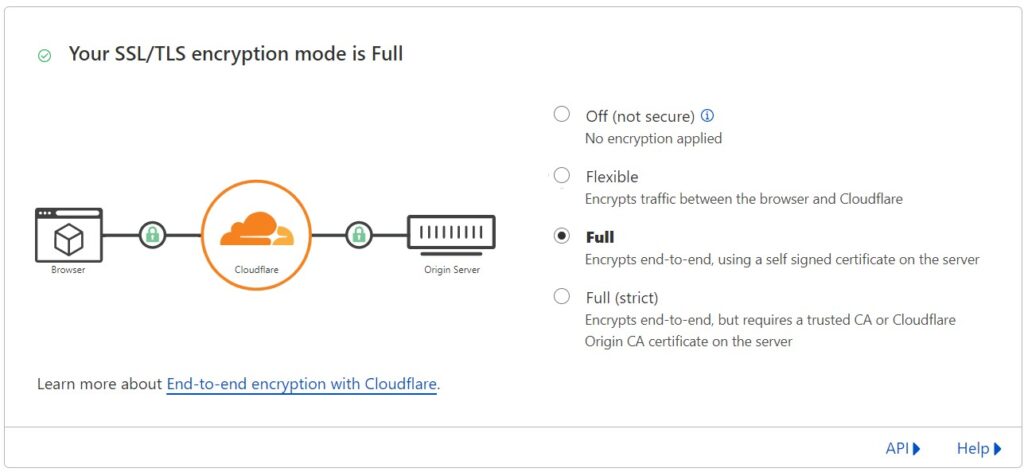
If you have pointed your default nameservers to Cloudflare, the SSL should be active in approximately 15 minutes. But, it can also vary depending on several factors such as propagation time on your DNS, Cloudflare, etc.
Step 6: Download and Install Required WordPress Plugins:
Now you have to install some additional required plugins. In your WordPress dashboard panel, go to Plugins and Add New, then search for the ‘Flexible SSL for Cloudflare’ plugin, activate and install it.
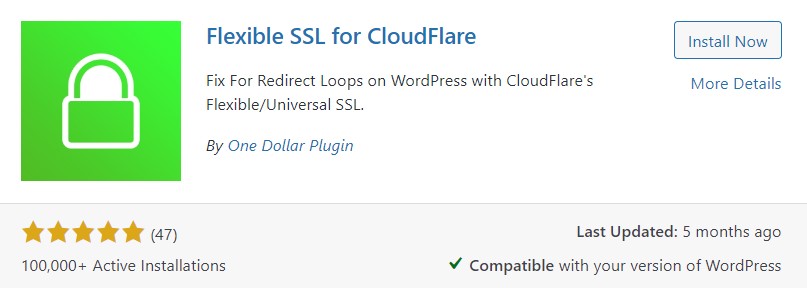
This plugin helps enable the Flexible SSL and work prevent the infinite redirect loop which might occur.
If these options are not visible to you, then check back later if the SSL is active and proceed.
Step 7. Changing the WordPress Site URL:
Here, some WordPress settings require changes. For this you have to go to your WordPress dashboard. Then go to Settings » General and make sure that site address point to HTTPS (see the below image).

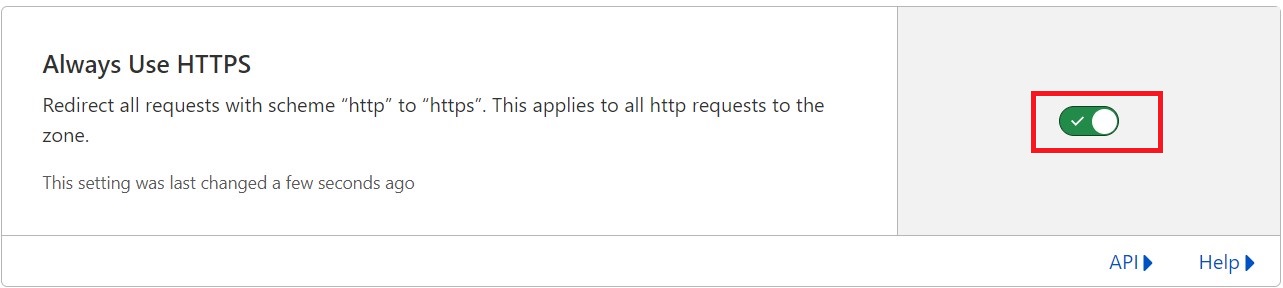
Step 8. Always Use HTTPS:
In Cloudflare dashboard, redirection settings need to change.
For this, go to SSL/TLS » Edge Certificates. Here you will see an option “Always Use HTTPS”, make sure to turn this button ON as shown in the picture below.
And you’re DONE. Now, go to your website and check if it uses HTTPS redirect.
TAKE AWAY
Hope this article will be helpful to you. If you have any question or suggestions, please leave in the comment section below. And don’t forget to share this article with others.
ALL THE BEST!!